
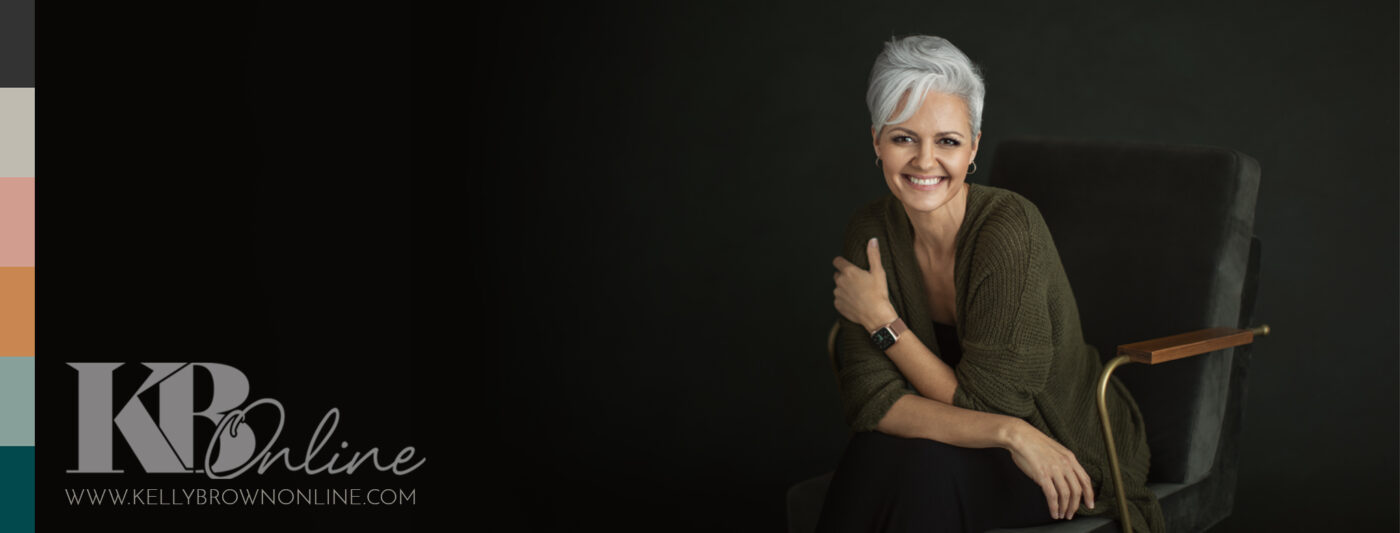
Control your shadow and highlight detail in camera – Newborn Photography
- Kelly Brown
- Nov 7, 2018
- 2 min read
Our goal at Newborn Posing is to equip you with the knowledge to develop your skills, from a grassroots level and upwards. So our hope is to see you develop the most efficient and effective ways to get the most from your camera and capture your best possible images.
As you would have read in our previous blog post, this means getting things right in camera.
By doing so, you are saving time with your editing, and you are creating the strongest image possible. Editing in post-production almost always carries an element of image destruction. So instead, one of the most efficient and successful ways you can achieve a nice clean image is by mastering your light and thereby reducing your editing workload.
So, why focus on in-camera mastery when you can just use levels and adjustment layers in Photoshop, you might think? Well, here are a couple of reasons which may sway you to never say “I’ll just fix it in Photoshop” again.
DIGITAL NOISE – DON’T BE AFRAID OF INCREASING YOUR ISO
Today’s digital SLR cameras handle high ISO without adding much image noise. Problems will occur, however, when you capture an underexposed image, and “fix” it during post-production. Underexposed captures have increased noise, even at the lowest of ISOs, resulting in muddy, flat images. The increased noise will decrease the image’s overall clarity.
Getting your exposure right first will ensure you don’t need to deal with excessive noise.
AVOID CLIPPING THE BLACKS AND LOSING THE HIGHLIGHTS
Always assess the shadow and highlight detail in your camera’s histogram. Ensure that you are exposing correctly to record detail in those areas of your image. Where necessary, use a reflector to introduce detail into the shadows. Remember, a reflector may be as simple as a piece of polystyrene board or a white cloth. This process will help to keep your shadow areas from becoming a compressed, “blobby” black area without discernible detail.
*The first histogram depicts the information recorded by my camera in my test shot. This told me that I was missing detail in the blacks and shadows of my image. As this would result in poor prints for my clients, I added a reflector. The second histogram shows how the simple addition of that reflector (below) allowed me to record great shadow detail, giving me a cleaner image and fabulous quality of printed image.
DRAWING YOUR EYE
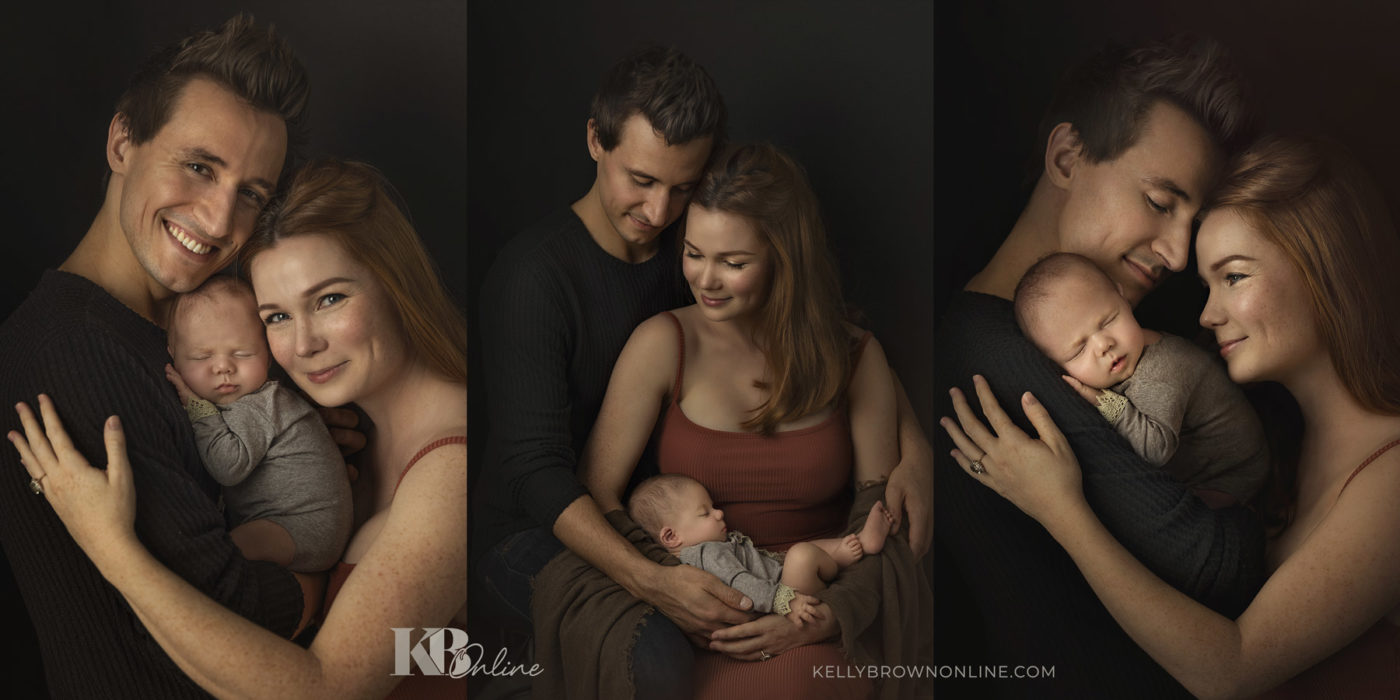
Consider the angle of your subject when it comes to where you want the brightest part of the image to be. For example, having a family at a newborn session, facing the light source front on isn’t going to give you the most flattering shadows and highlights for the family members. If the top of a baby’s head becomes the brightest part of an image, consider a different light angle to draw the eye towards the baby’s face instead.
It all comes down to focusing on your intent. Use your tools to create the vision in your mind. Use your camera to accurately capture what you intend to; and keep the post processing to a minimum.
Capture the light right, and your images will shine, just the way you want them to.
Comments